Lab 1
Hello everyone !
During my first lab of HCI, I learned how to make a blog with the static site generator Hugo, how to deploy it with GitHub, and how to setup a Unity project.
Part 1 : Setup my Blog
First steps with Hugo
It is my first blog, and my first time using a static site generator. For simplicity, I chose to use the one advised by my teachers : Hugo. First, I downloaded and followed the steps detailed here : https://gohugo.io/getting-started/installing/ .
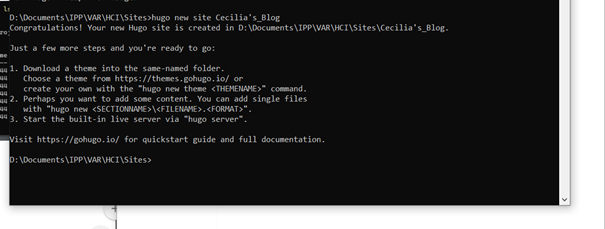
I created my Hugo site in a particular folder :
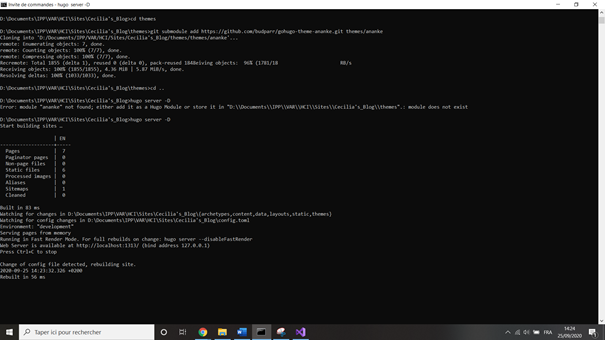
I investigated the different existing hugo theme. I chose the basic one : Ananke, because it was aesthetic and easy to use. I first chose another theme but when I visited its GitHub, it seemed more complicated to put in place, due to other software used.
Then, I wrote my first post on my Hugo blog, using the Markdown language in Visual Studio. The language is quite easy, and the Markdown Guide is complete. To inspire myself, I also looked at the config.toml and the scripts of the posts of the Ananke example site on GitHub.
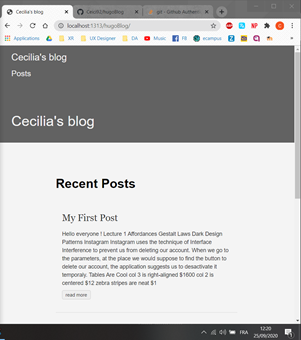
I was able to test my blog locally with the command : hugo server -D.
I changed the colours of the different pages of my blog to make it more fun. To do so I follow the instructions of the ReadMe file :

When I was satisfied of what it looked like, I plunged into the most difficult part for me : the deployment !
The Deployment
I used my own GitHub to deploy my blog. Once again a tutorial is present online : https://gohugo.io/hosting-and-deployment/hosting-on-github/.
Following my teacher’s advice, I used Project Pages instead of User pages. This way, my project was linked to a collection in my GitHub, instead of being linked to my account.
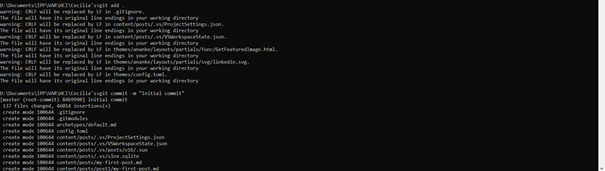
I created my repository, initialized a git repository in my project folder, and configured the access with an SHH access. I created it in my local machine, following this tutorial : https://docs.gitlab.com/ee/ssh/. However, with the tutorial command I was not able to copy the key, so I had to do it manually, by going in the correct file.

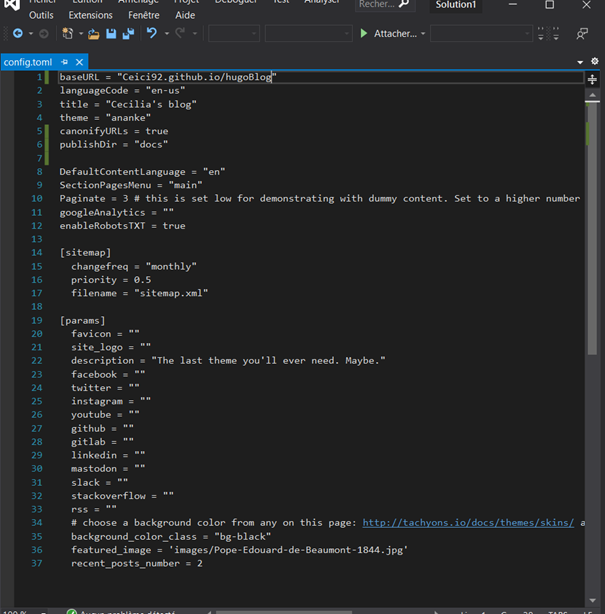
Then, I setup my project to deploy my pages from a “docs” folder. I changed the config.toml file, and pushed my project :

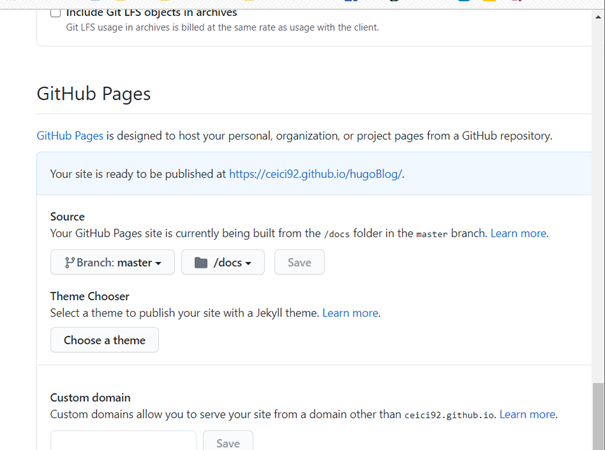
I enabled GitHub pages to use the docs folder :
Then, little surprise, my blog on the baseUrl did not correspond to my blog on the lacalhost link :
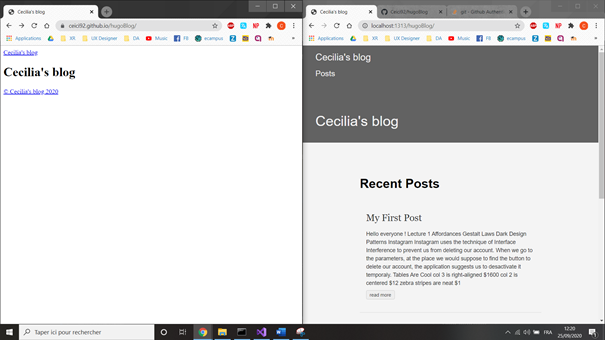
It happened because I forgot to execute hugo before pushing, and because my first post was still tagged as a draft. My blog was finally deployed !
But something was missing no ? The images !
The Images
I tried using this command to add images to my blog, but it did not worked :
Finally, the only issue remaining about my blog was the impossibility to put an image. I used the adequate Markdown syntax, and the folder organisation recommended, but hugo could not find my images in the folders hosted in my Github. So, I bypassed the problem, by putting my images in GitHub “issues”, and using the link given to show my images.
Sometime after, I found a solution by adding “?raw=true” to the link of my images in GitHub.

I even found how to put a video on my blog. First, I tried to do the same process that I did for an image, but my video was too heavy to have a viewing raw in GitHub, so it did not appear on my blog.
Therefore, I reduced the time of the video to 12sec, putted it in the video file, and pushed it on Github. Still the video was too heavy to be visualised.
Finally I decided to make it a gif, with Photoshop :
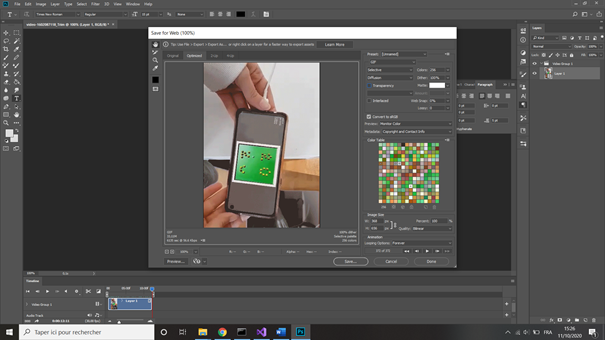
It worked ! The file could now be previsualised in git, it means that it can now be seen directly on my page, as you can see here :

I also noticed that to easily modify a recurrent coding issue on Visual Studio, I can use Cytl + H for 1 file, or Ctrl + Maj + H for all the opened files.

Part 2 : Setup Unity
I already had Unity because I used it last year for a project. However, I did not have the last version, so I uploaded Unity 2019.4 on my Unity Hub. (I also installed Unity 2020.1 because we need it for Lea’s class)
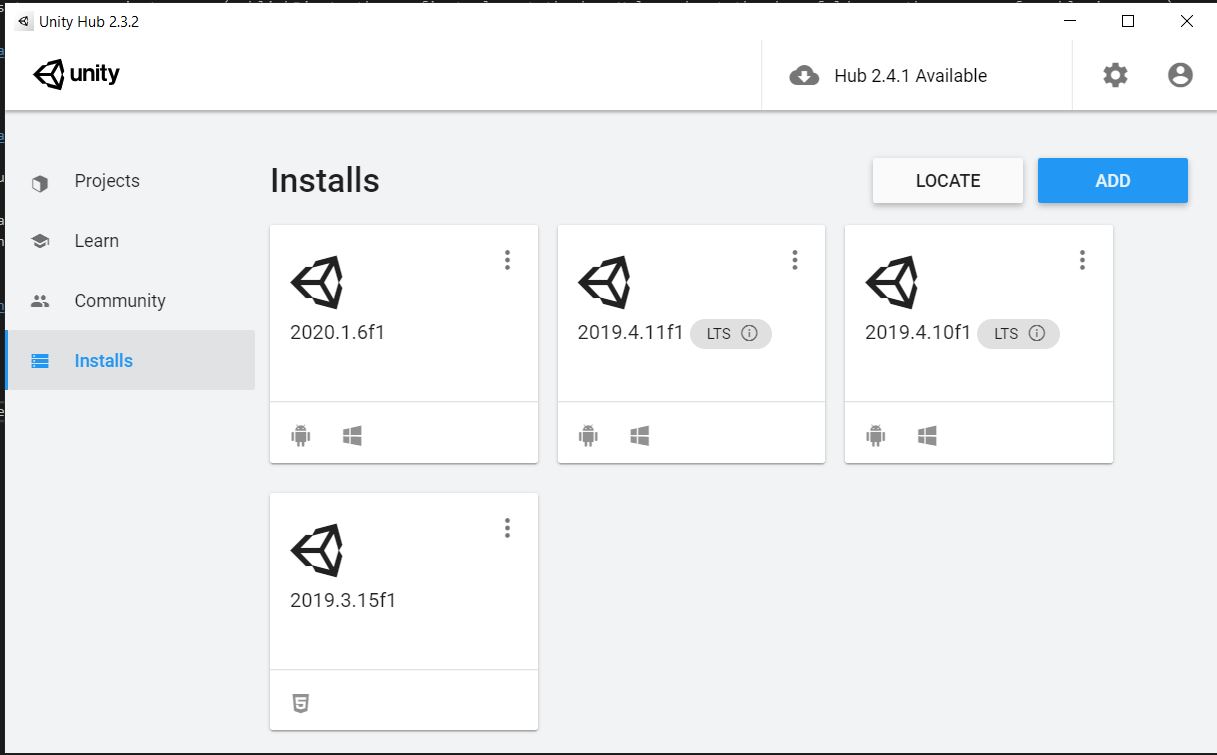
I created a new Unity 3D project.
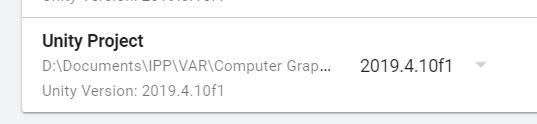
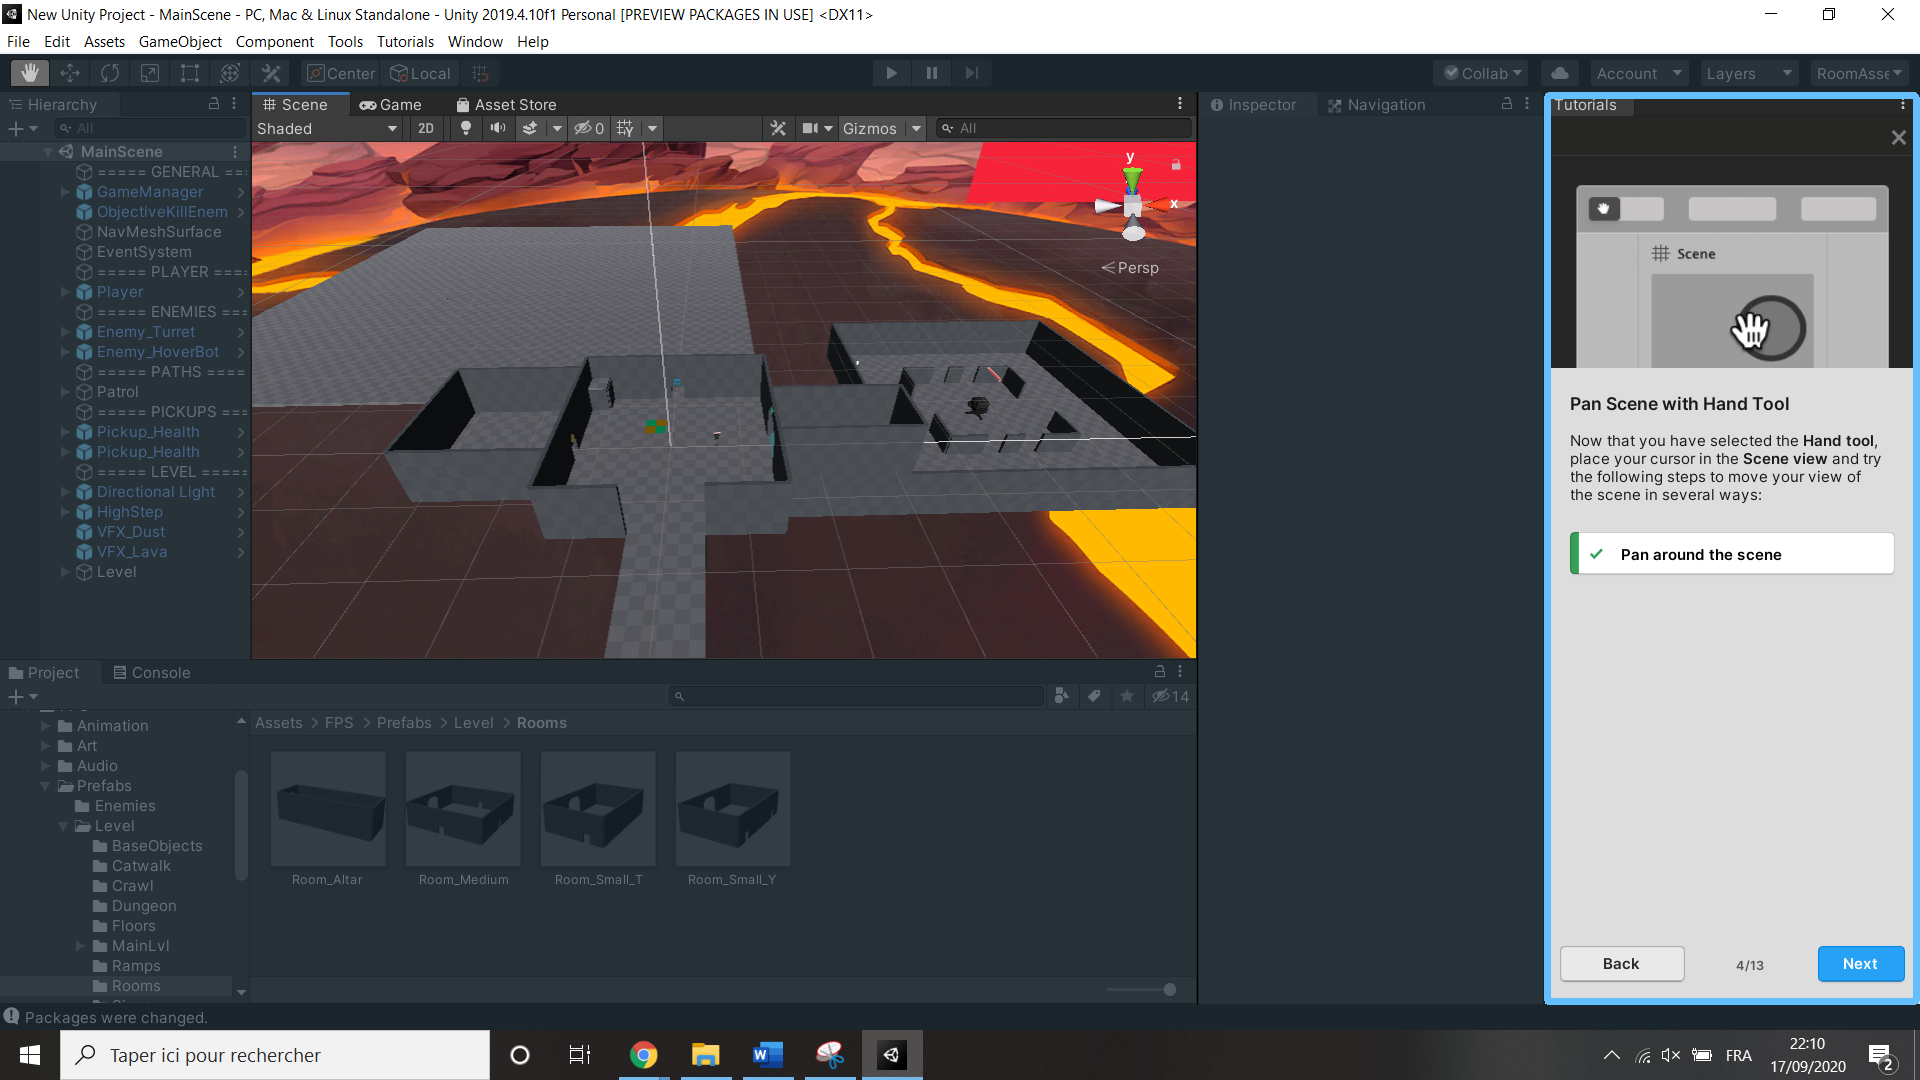
I already knew the basics : create an object, change its size, its location, the parent-child relation, etc… Therefore, I directly started by playing around with an example. I went on the unity learn page, and I chose the FPS microgame :
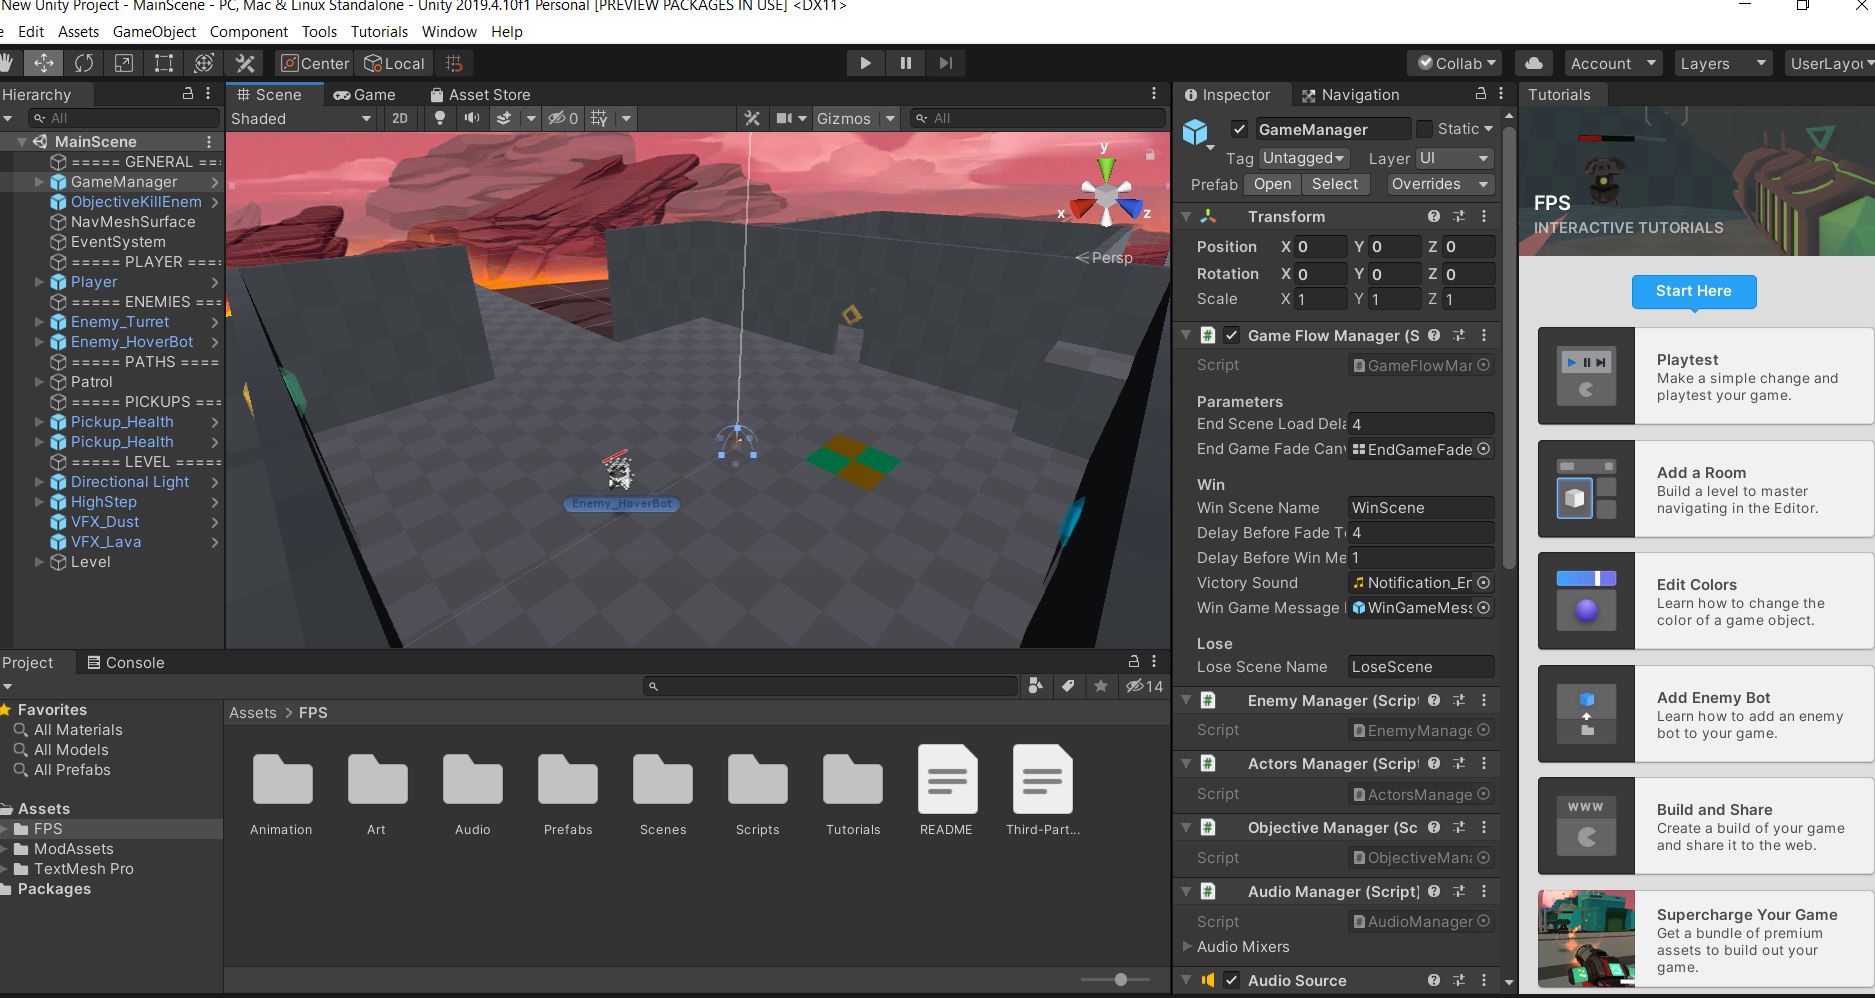
I started playing a little to discover it :
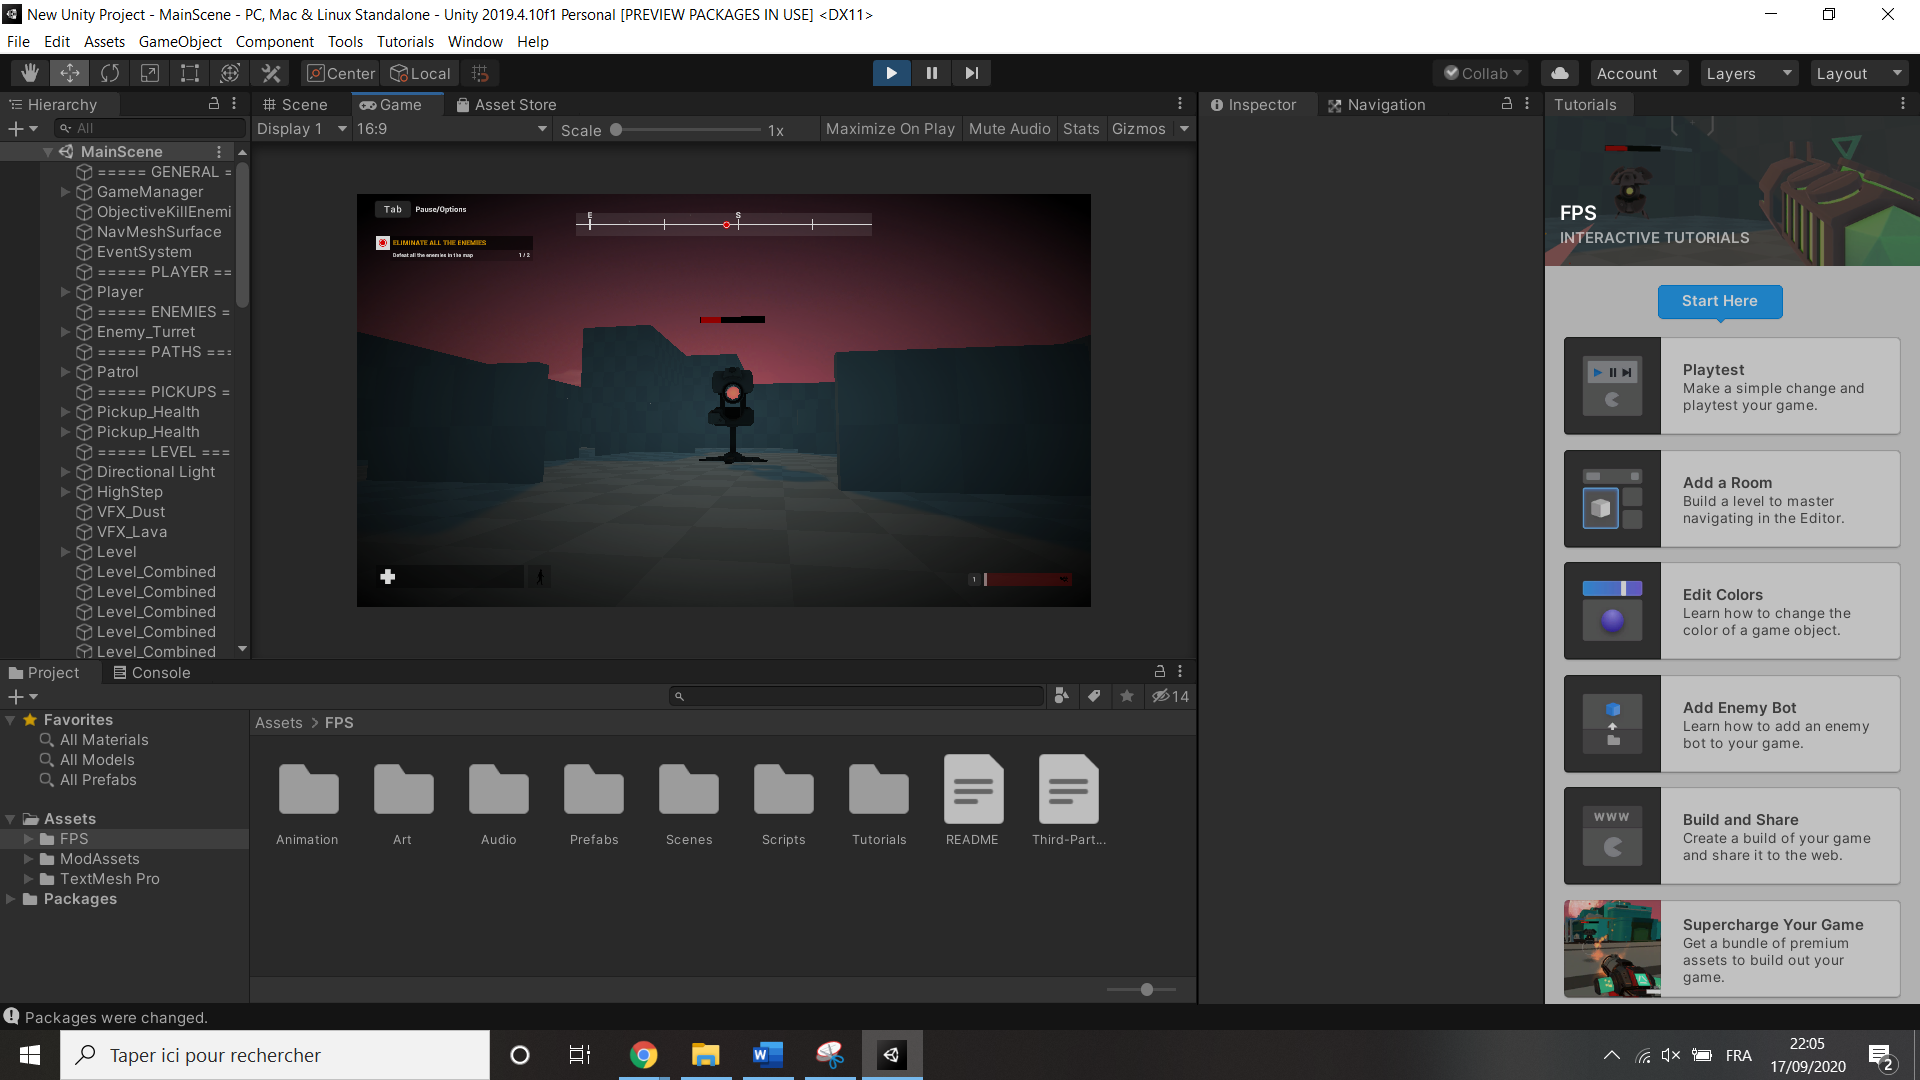
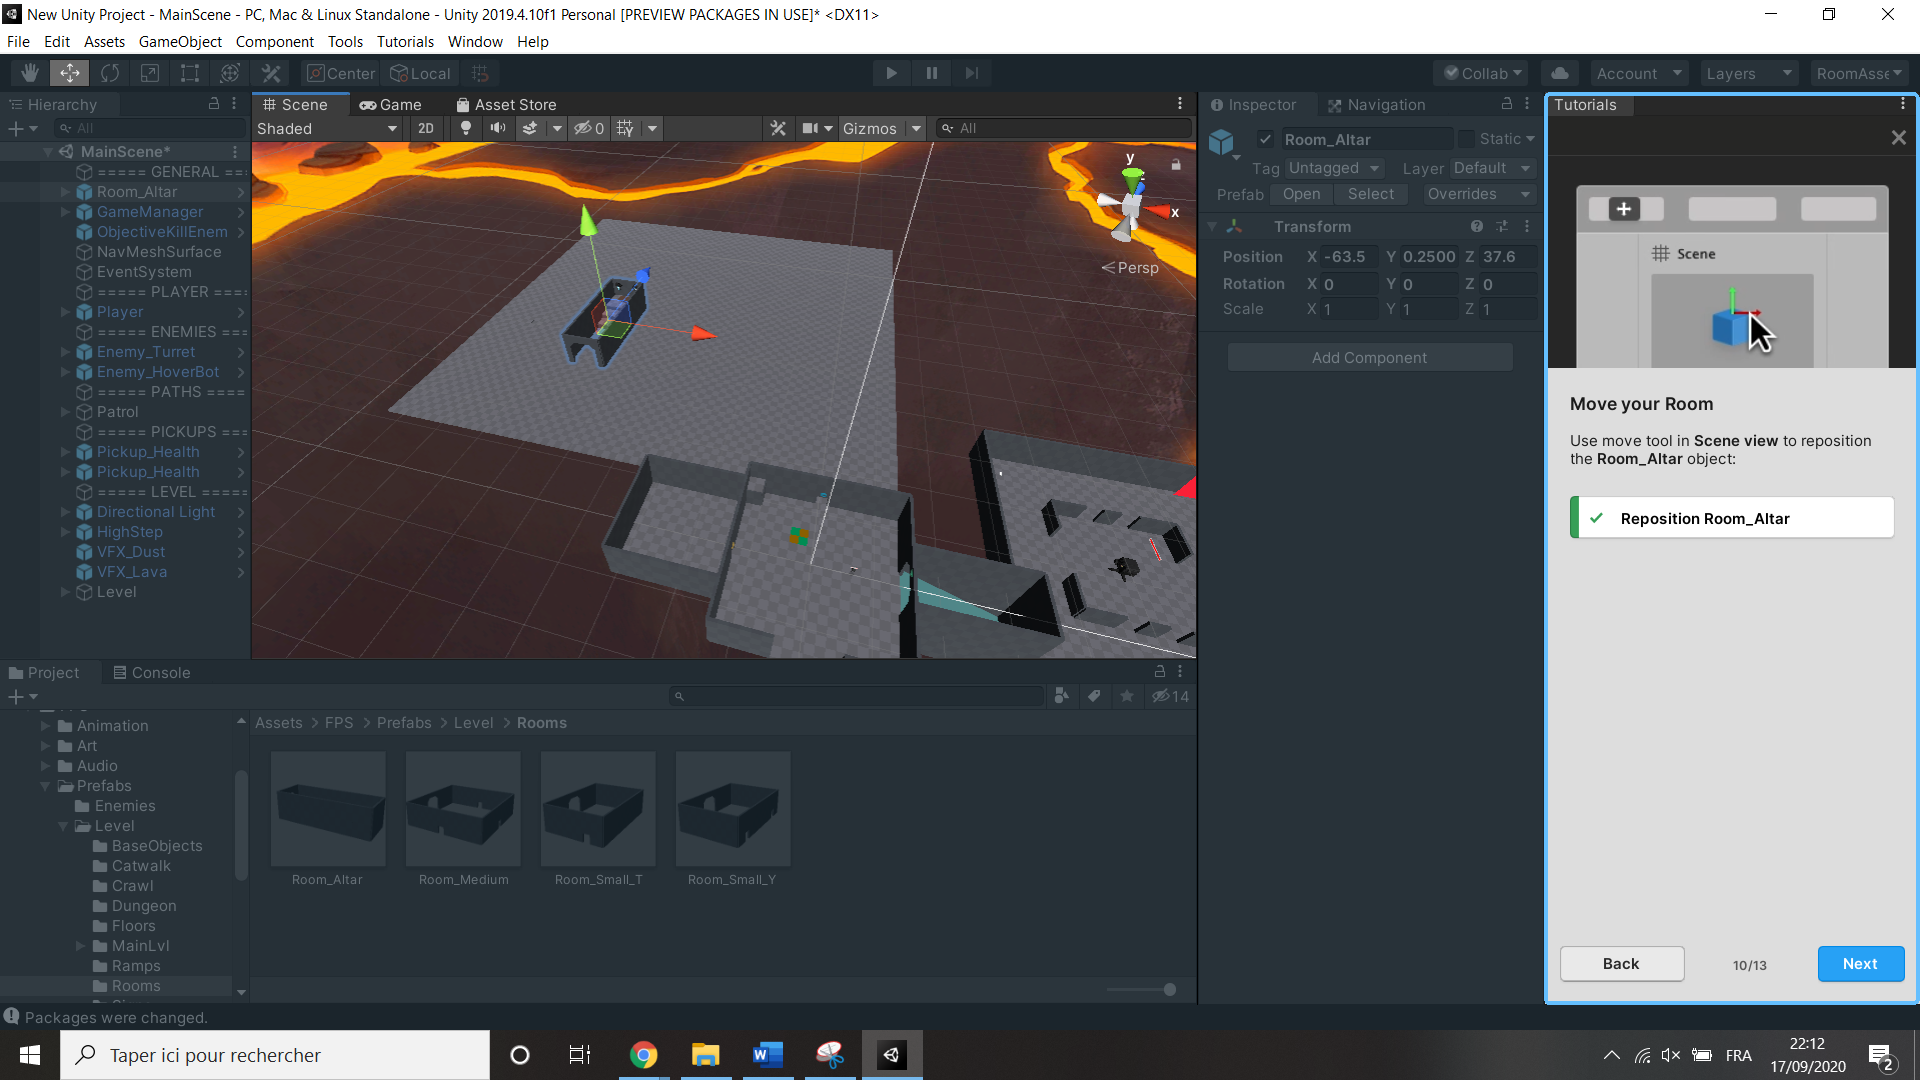
I looked into the prefabs of the game, and I added a new room.